Home Assistant Wall Panels with a Tuya S6E
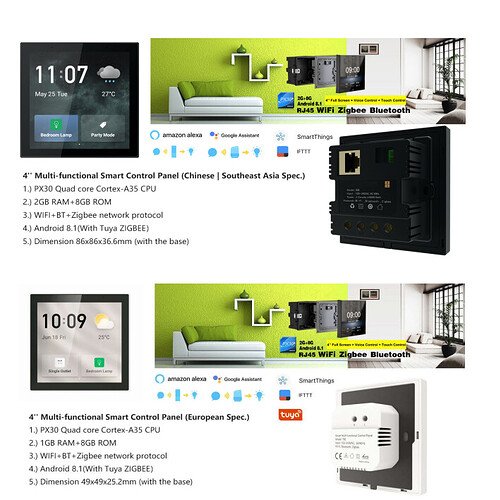
Tuya have made a fantastic 4” touch screen that runs Android called the T6E. There is also a S6E, which is a similar device but has an inbuilt switch that can be used to turn on and off lights. The T6E is designed for the European market, where as the S6E is designed for Asia.
An incredibly talented individual called Blakadder has figured out how you can root these devices to remove the Tuya application and instead sideload different apps onto it, which lets you run full Home Assistant dashboards on a small wall panel
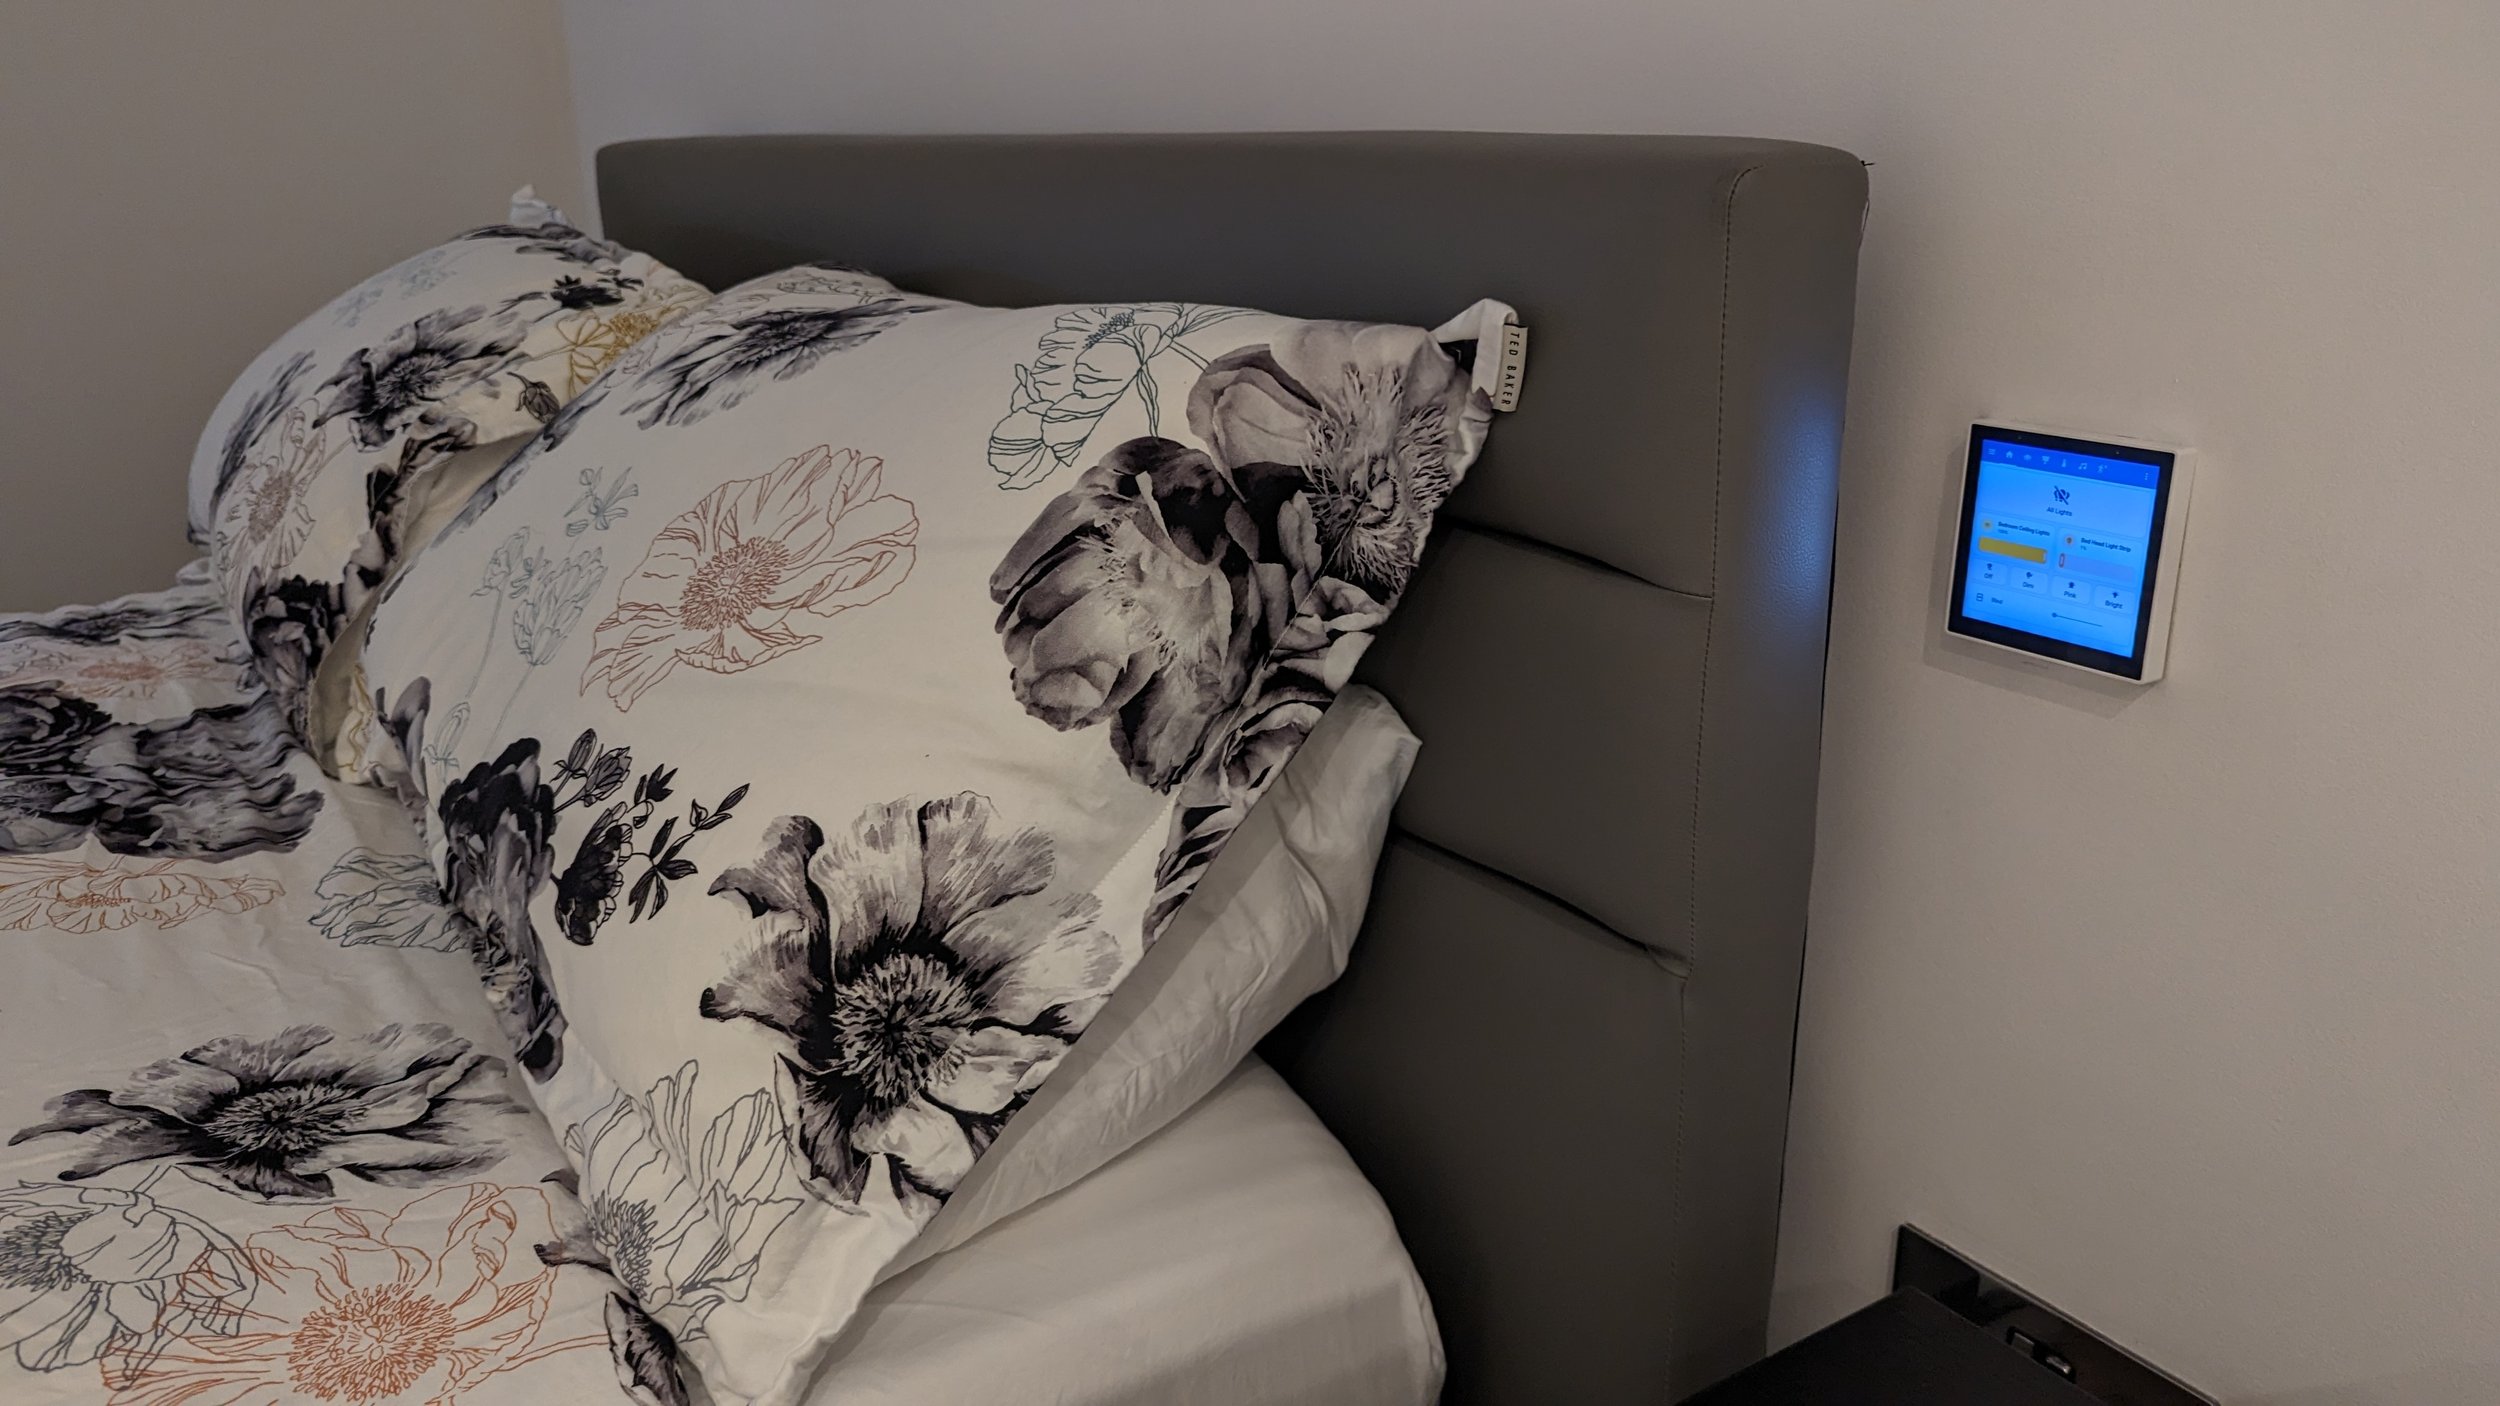
I have one of these on either side of my bed, which allows my partner and I to control anything in our smart home directly from this wall panel using the Home Assistant application - how cool is that!
This article will show you step by step how you can configure a S6E or T6E to run these applications on the side. This is based very heavily on Blakadders article, and all I’ve done is take a few of his different blog posts and combine them into one set of instructions to show you exactly what I did to get this set up.
If you get value from this article, I strongly urge you to go and donate some money to Blakadder who did all the hard work figuring out how to do this. You can donate to him here!
Here are the blog posts I followed:
Sideload Apps on Tuya T6E, S6E and S8E Android Smart Home Panels
Use Proximity Sensor to Wake Screen on NSPanel Pro and Tuya Smart Home Panels
Required Hardware
You’re going to need a Tuya T6E or S6E device. I recommend the Zemismart rebadged version, or else you can buy one on AliExpress. I have both a T6E and S6E in my home, but I prefer the T6E as it was slightly easier to work with.
You’re also going to need a USB cable, a computer and some teeny tiny phillips head screwdrivers.
Installing Prerequisites
Before you get started you’re going to need to install some pre-requisite software on your computer and download some files.
Firstly, download and install the Google USB drivers which will let you interact with the device using a tool called ADB (Android Debug Bridge). Once you have these drivers installed, and you’ve plugged the device into your computer with the USB cable, it should appear in the Device Manager.
Then download the Android Platform Tools, which contain the ADB tool and unzip it to a folder. I unzipped mine to c:\platform-tools
Disassembling the device
You now need to pull apart the device itself and expose the USB port that is inside. It’s not that complicated, just pop the back off, undo the screws and then pull it gently apart.
You will need to gently remove the ribbon cable that controls the touch screen, then lift up the board and plug in the USB cable.
ADB Access
With your panel connected to your computer, you should now be able to open up a command prompt window, navigate to the directory where you extracted the adb tools earlier and access the device.
adb devices listIn future we will want to be able to connect to the panel wirelessly over your Wifi network, so we need to run some commands to enable this
adb shell setprop persist.adb.tcp.port 5555
adb tcpip 5555
Disable Tuya Apps, install a new app launcher and other required apps
Now that we’re connected to the panel install a new app launcher that will let us run the apps that we want and clear out the Tuya apps.
First, download the Ultra Small App Launcher, and copy it to the same directory that you’re running ADB from (In my case c:\platform tools) and install it with these commands.
adb install ultra-small-launcher.apkNow disable the Tuya apps by running these commands
adb shell
su
pm disable com.tuya.iotgateway.launcher
pm disable com.smartpad.fourinchneeu.smart
Next we need to download an app called Xposed Installer, move it to the directory where our ADB tool is and install it on our panel with this command:
adb install de.robv.android.xposed.installer_3.1.5-43_minAPI15(nodpi)_apkmirror.com.apkWe also need to download the Xposed Framework and save it to our adb tool directory.
Then we copy it to our panel:
adb push xposed-v90-sdk27-arm64-beta3.tar /sdcard/Download/Open our adb shell and switch to root
adb shell
su
Make the filesystem writeable
mount -o rw,remount /systemNavigate to the path that the Xposed Framework was copied to
cd /sdcard/Download/And extract the file
tar -xvf xposed-v90-sdk27-arm64-beta3.tarChange to the new directory that was created when you extracted the file
cd /sdcard/Download/xposed-v90-sdk27-arm64-beta3/And make the installer script executable
chmod a+x /sdcard/Download/xposed-v90-sdk27-arm64-beta3/META-INF/com/google/android/flash-script.shNow you can install the Xposed Framework with this command
sh /sdcard/Download/xposed-v90-sdk27-arm64-beta3/META-INF/com/google/android/flash-script.shNext up, download the AnyWebView apk application and copy it to your adb directory, and install it with the following command
adb install AnyWebView.apkThen we download the latest version of the Android System WebView component which makes sure that we can run modern browser applications including Home Assistant. You can then install it with the following command.
adb install “Android System WebView_109.0.5414.86_Apkpure.apk”You might need to change the name of the APK file you’re installing if a newer version has come out since I wrote this article.
Finally, we will download the Fully Kiosk Browser apk file to the adb directory and install it with this command.
adb install Fully-Kiosk-Browser-v1.49.1.apkReassemble the device, install it and connect to your Wifi
Everything is now installed on your device, and you can put it back together and power it up via the mains power. We’ll configure the rest of the panel when it’s on the wall and use ADB over Wifi.
To put it back together, do the reverse of what you did to pull it apart. Make sure you put the ribbon cable back too as that is important to ensure the touch screen works.
Then connect it to the power on your wall and it should boot up to the launcher.
You can then use the touch screen to open the Settings app, and connect it to your home Wifi just like you would any other Android device.
Finish configuring the device
With your device connected to the Wifi, we can now remotely use adb and the touch screen to finish setting up the device.
First you’ll need to connect to the device’s IP address over TCP/IP with the command
adb connect <IPADDRESS>One of the challenges with the touch screen is that there are no BACK or HOME buttons available to you, so you need to simulate these via the adb command.
You’ll be using these a lot during this process, so make note of them.
To simulate the BACK button run the following command
adb shell input keyevent 4To simulate the HOME button run the following command
adb shell input keyevent 3To Reboot the device run the following command
adb shell rebootWe now configure all the various apps we installed when the device was connected to the USB cable, starting with the Xposed app.
Open the XPosed app from the launcher and check that it’s active (and green). If it’s not active (or Orange) then run the reboot command to restart the device and try again.
Then press the three lined menu in the top left, select Modules and tick the box next to AnyWebView to activate it.
Then reboot the device again using the following command
adb shell rebootOnce the device has been rebooted, we’ll open the Settings app again, go to System and then to About Tablet and scroll to the bottom. We’ll now press the Build number option 7 times to activate Developer Mode
With Developer Mode active, we can go back to the System menu and into the Developer options menu. From here we’ll select the WebView Implementation option and tell Android to use the higher version of WebView that we installed earlier.
For good measure, you can now reboot the device again with the following command:
adb shell rebootConfiguring Home Assistant on the panel
You’re almost there! We can now configure the panel to run Home Assistant using the Fully Kiosk app we installed earlier.
But first, I’d strongly recommend that you create a new Home Assistant user that your panel can log in as. This is done in the Home Assistant Settings menu, under People and then Users. Here you can create a new user, and tell Home Assistant that for security reasons this user should only be able to log in from your local network (Rather than the internet as well)
Now back on the panel, open up the Fully Kiosk app and type in the address of the Home Assistant lovelace dashboard you want to display on the device into the Start URL. When prompted, log in as the new user you just created and check the Keep me logged in option, and it should load up the dashboard!
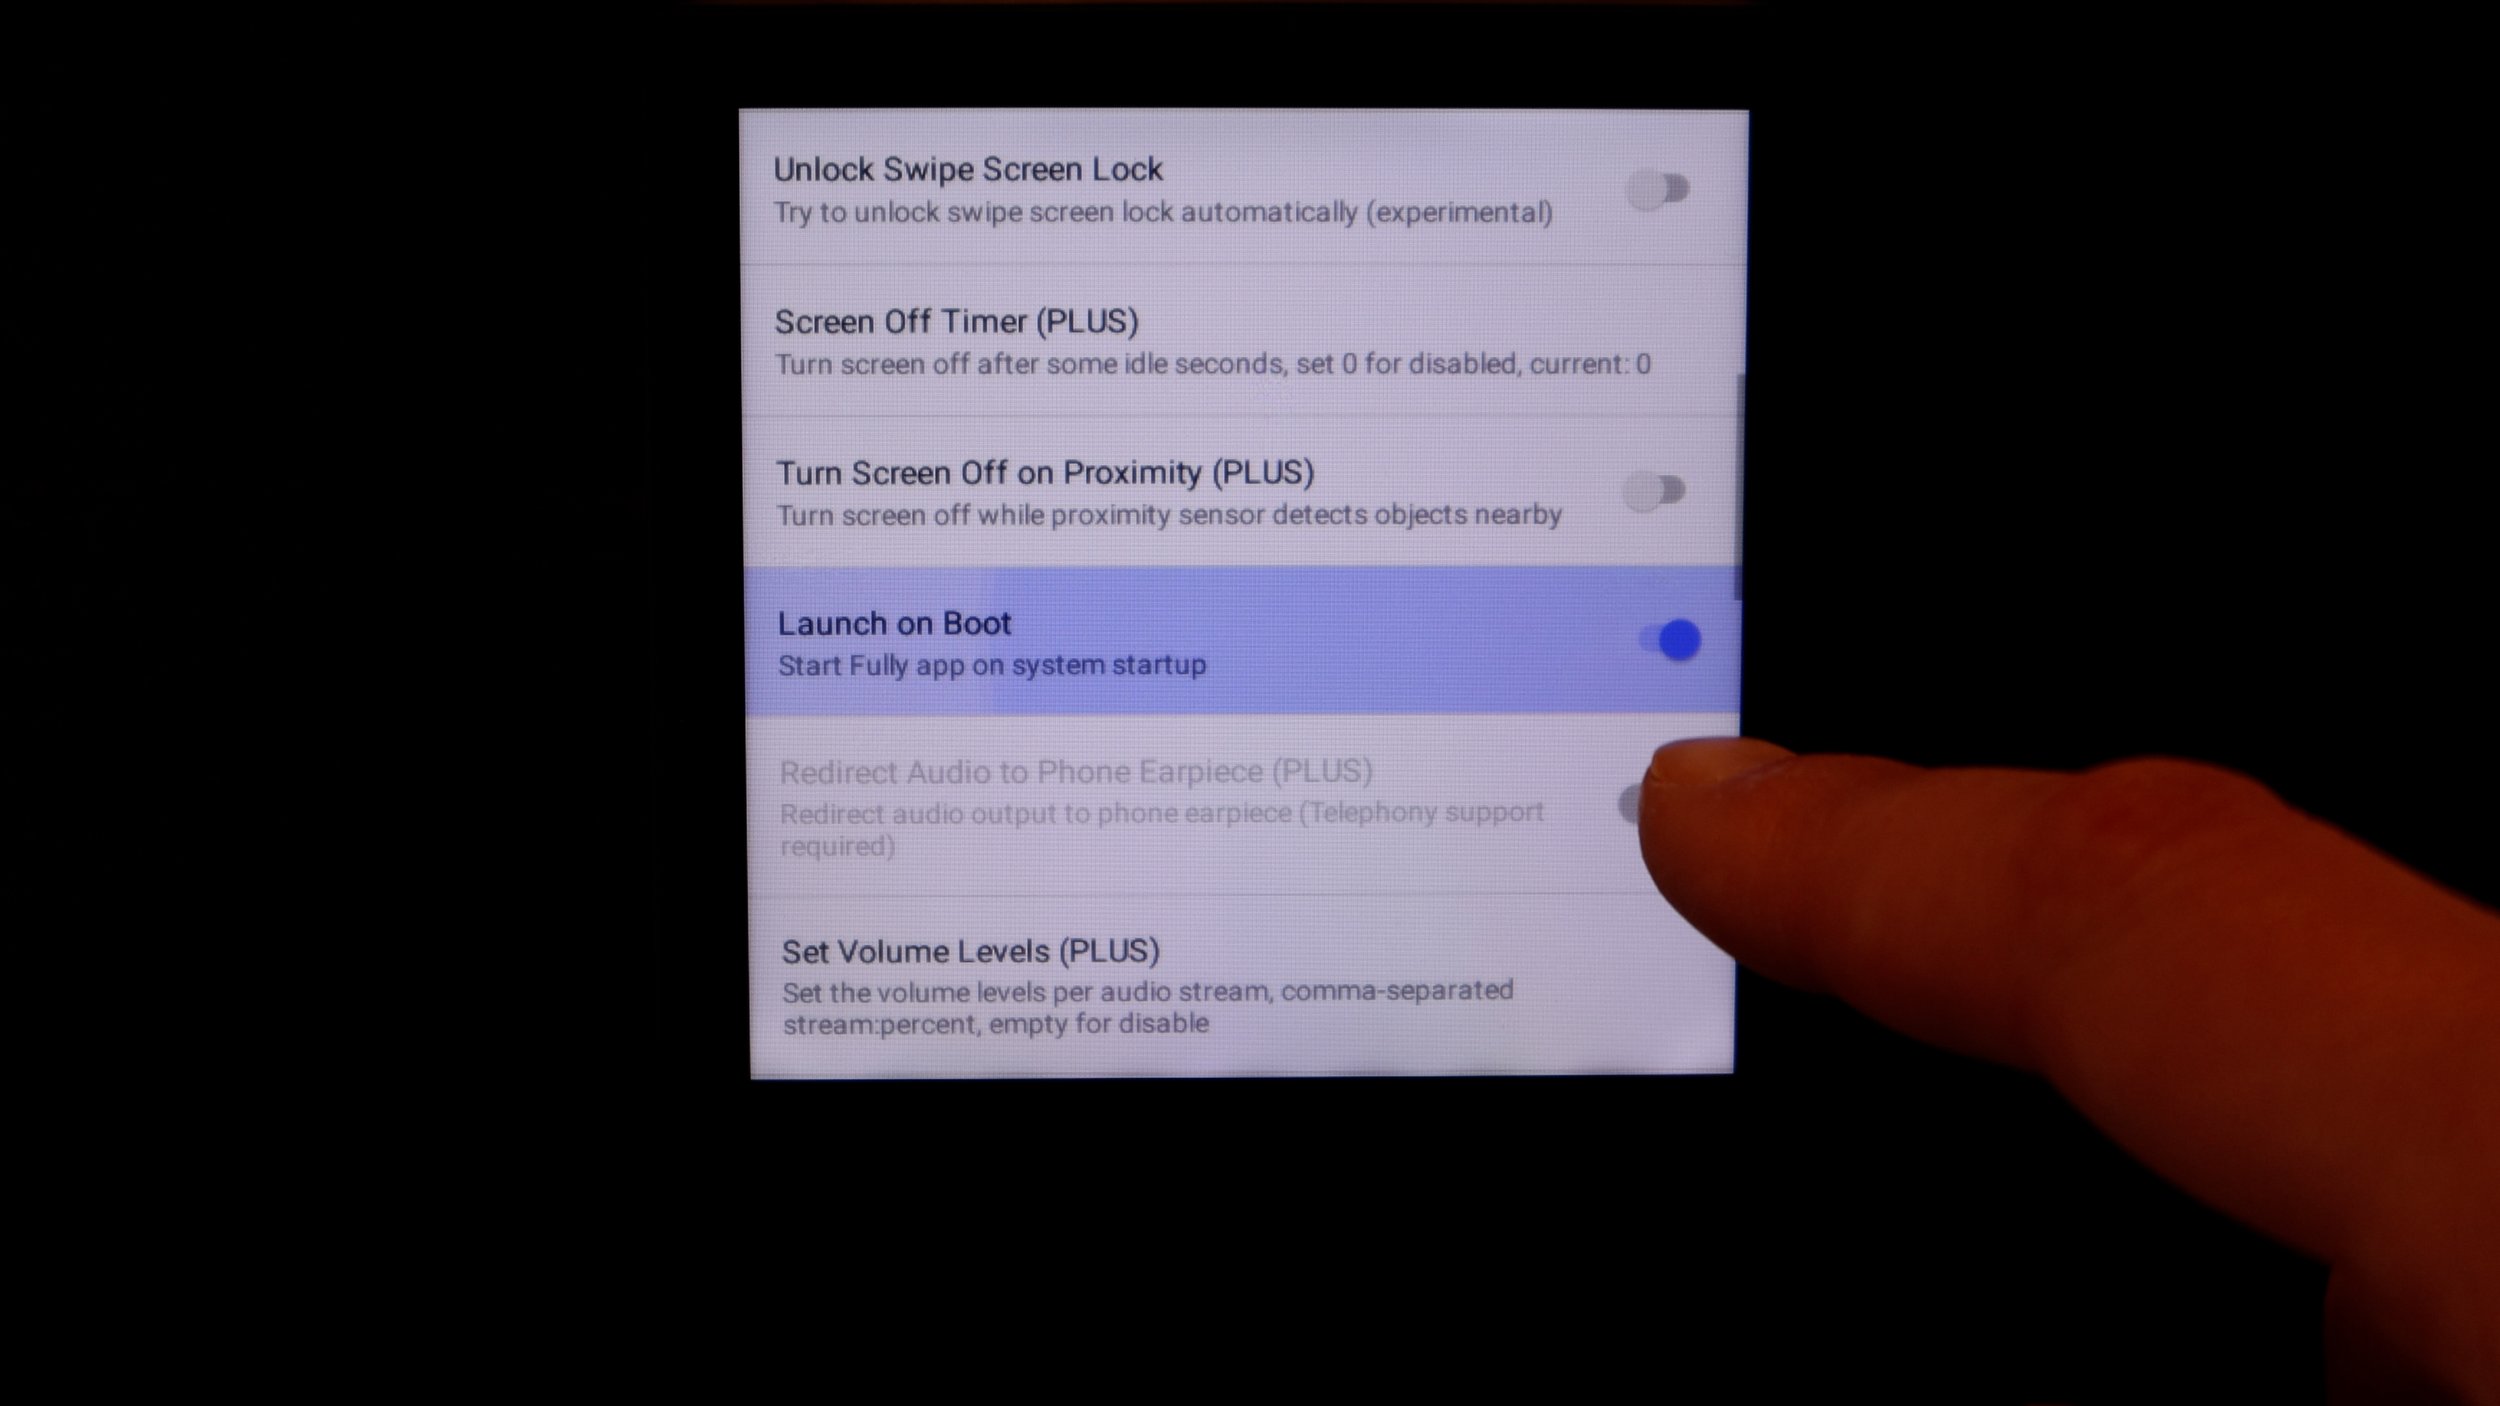
Finally, we will set up Fully Kiosk to automatically launch itself when the device powers on. To do this swipe in from the left hand side to open the Fully Kiosk settings menu, go to the Device Management menu, and select the Launch on Boot option.
If you once again reboot the device with the reboot adb command, it should restart and launch fully kiosk automatically directly into your Home Assistant Dashboard.
Automatically waking the screen on proximity
With all the settings configured how they are at the moment, your wall panel screen will stay on all the time. This can be quite annoying as it will light up a dark room and also waste a lot of power. The device uses about 1.5W of power when the screen is on, compared to under 1W if the screen is off.
The S6E and T6E have a proximity sensor at the top of them that detects if a hand or person is in front of it, and can be used to wake up the screen when someone is in front of it.
To make this work we need to install some more software to the panel using the adb commands. Make sure you’re connected to the panel with the adb connect command we used earlier and then download the Automagic application and this script. Copy them both to the directory that your adb tool is installed into.
Once again, this is all thanks to Blakadder’s great instructions, which you can find here.
Remotely install the Automagic app with this adb command
adb install Automagic_1_38_0.apkThen copy the script to the device with this adb command
adb push flow_Proximity_turn_screen_on.xml /sdcard/Download/flow_Proximity_turn_screen_on.xmlOpen Automagic on the tablet, and open the menu in the top left hand corner and go to Import Flows/Widgets. Now navigate to the Downloads folder and select the xml file you copied over.
You should see the flow imported, and you can use the Pencil icon to edit it if needed. One thing you might want to edit is the distance between the detected object and how close it needs to be before it turns the screen on. When you move your hand closer to and further away from the screen you should see the current value change. Make note of the value when your hand or body is in the position you want the screen to turn on.
I’ve found that 300 works best in my use case. Save that and you can test it by moving your hand closer to the device and further away. The flow will go Red when it is activated.
Go back to the launcher by simulating the Home button press
adb shell input keyevent 3Now we just need to make some changes to the Android settings to make the device turn off the screen after 30 seconds. This is in the Display menu, under Advanced and then Sleep.
I found that 30 seconds works best for me. In some cases the device wouldn’t go to sleep at all if I chose a small value, like 15 seconds - no idea why.
Once again go back to the Home screen with the simulated keypress, and go back to Fully Kiosk Browser. Swipe in from the left and go to Settings and then the Device Management screen. Make sure you turn off the Keep Screen On option.
Using the Switches on a S6E panel with Home Assistant
The S6E version of these panels has two switches (L1 and L2) that can be used to turn on and off lights and devices.
A person on GitHub has been able to get these to work by controlling the on board GPIO pins from Home Assistant. It’s a massive faff, but if you want to use these switches then you can do so by following these instructions.


